There’s something about beef short ribs that just speaks to the soul—it’s like a warm hug from the inside. I remember the first time I tried them sous vide style, I was skeptical.
I mean, how could cooking meat in a bag of water possibly work? But there it was, this culinary revelation that changed my world (at least my dinner table).
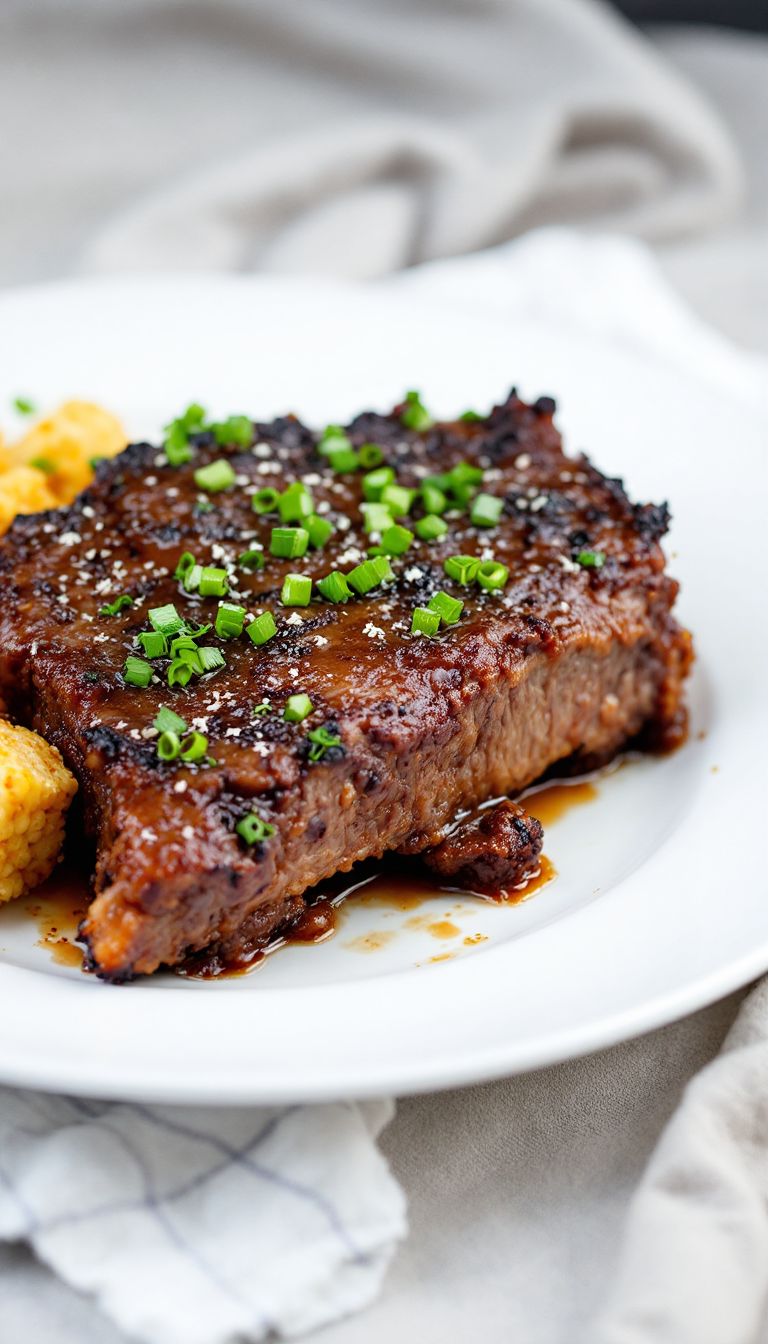
With sous vide, every bite is tender, juicy, and packed with flavor—like the ultimate comfort food that whispers sweet promises of contentment. It’s funny how a little gadget can transform a skeptic into a believer.
And speaking of gadgets, did you catch the new season of that cooking show everyone’s raving about? Anyway, back to the ribs—these are not just any ribs; they’re the kind you tell stories about, the kind that make you want to gather everyone around just to share in the deliciousness.
So, grab your sous vide machine, and let’s make some magic happen in the kitchen!
Steps
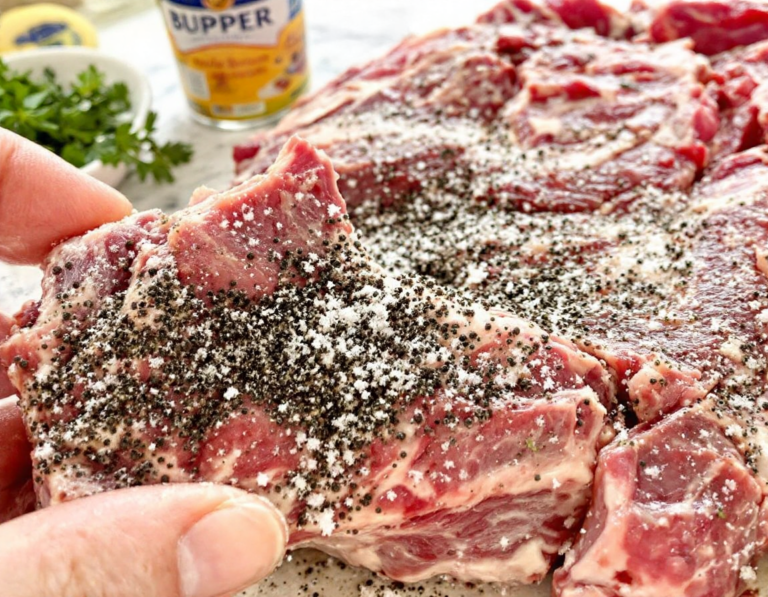
- Season the short ribs by sprinkling them with fine sea salt and freshly ground black pepper. Place the seasoned ribs into a vacuum bag and seal it tightly.
- Set up a sous vide water bath at 140°F (60°C) and immerse the sealed bag of ribs for a duration of 48 hours. Ensure the cooking time is at least 36 hours, with an option to extend up to 72 hours for varying tenderness.
- Prepare the grill for high direct heat cooking, aiming for a temperature of 450°F or higher. Preheat a gas grill for 15 minutes with all burners on high, or use a charcoal chimney to achieve a hot bed of coals on one side of the grill.
- Carefully remove the ribs from the sous vide bag and pat them dry with paper towels. Grill the ribs over direct high heat, turning them every minute to achieve an even brown crust, for approximately 4 minutes total. Serve and savor the tender, flavorful short ribs.
Ingredients
- 4 thick-cut bone-in beef short ribs (approximately 6 inches long and 2 inches thick each)
- 2 teaspoons fine sea salt
- ½ teaspoon freshly ground black pepper
FAQ
- What is the ideal sous vide time for short ribs?
- For perfectly tender short ribs, sous vide them for 48 hours at 140°F/60°C. This timing ensures the ribs are tender but still firm enough to handle a sear on the grill.
- Can I use a pan instead of a grill to sear the ribs?
- Absolutely, a hot cast iron skillet or even a quality stainless steel pan can be used for searing. Ensure the pan is very hot, and sear each side of the ribs for 1 to 2 minutes to achieve a nice crust.
- What’s the difference between flanken cut and cross cut short ribs?
- Flanken cut short ribs have a long bone running along the bottom, making them easy to handle. Cross cut ribs, on the other hand, are sliced across the bones, resulting in several small bone pieces. Both types can be cooked using the same method.
- Is it necessary to cool the ribs before searing?
- While not essential, cooling the ribs in an ice bath or under cold water before searing can help prevent overcooking. This way, the exterior of the ribs is cold when it hits the grill, allowing for a better sear without cooking the inside further.
- How can I ensure sous vide cooking is safe?
- Always sous vide at temperatures of 131°F/55°C or above to pasteurize the meat and kill any bacteria. For this recipe, cooking at 140°F provides a safe and optimal texture for the short ribs.
Tips
- Choose the Right Cut: Opt for thick-cut, bone-in beef short ribs, about 6 inches long and 2 inches thick, to ensure they cook evenly and achieve the desired tenderness.
- Ensure a Proper Seal: When vacuum-sealing the ribs, make sure to completely remove the air from the bag. If you don’t have a vacuum sealer, you can submerge a freezer Ziploc bag in water to push the air out before sealing it.
- Chill Before Searing: After cooking sous vide, cool the ribs in an ice water bath before searing. This step helps prevent overcooking when you transfer them to the grill.
- Monitor Grill Heat: Whether using gas or charcoal, ensure your grill is preheated to a high temperature (450°F or higher) for an effective sear. This will help achieve a nice crust without overcooking the meat.
Equipment
- Sous vide immersion circulator
- Sous vide food storage container or a large pot
- Vacuum sealer
- Gallon vacuum seal bags or sous vide bags
- Grill (if you don’t have one and prefer not to use a cast-iron pan or skillet for searing)