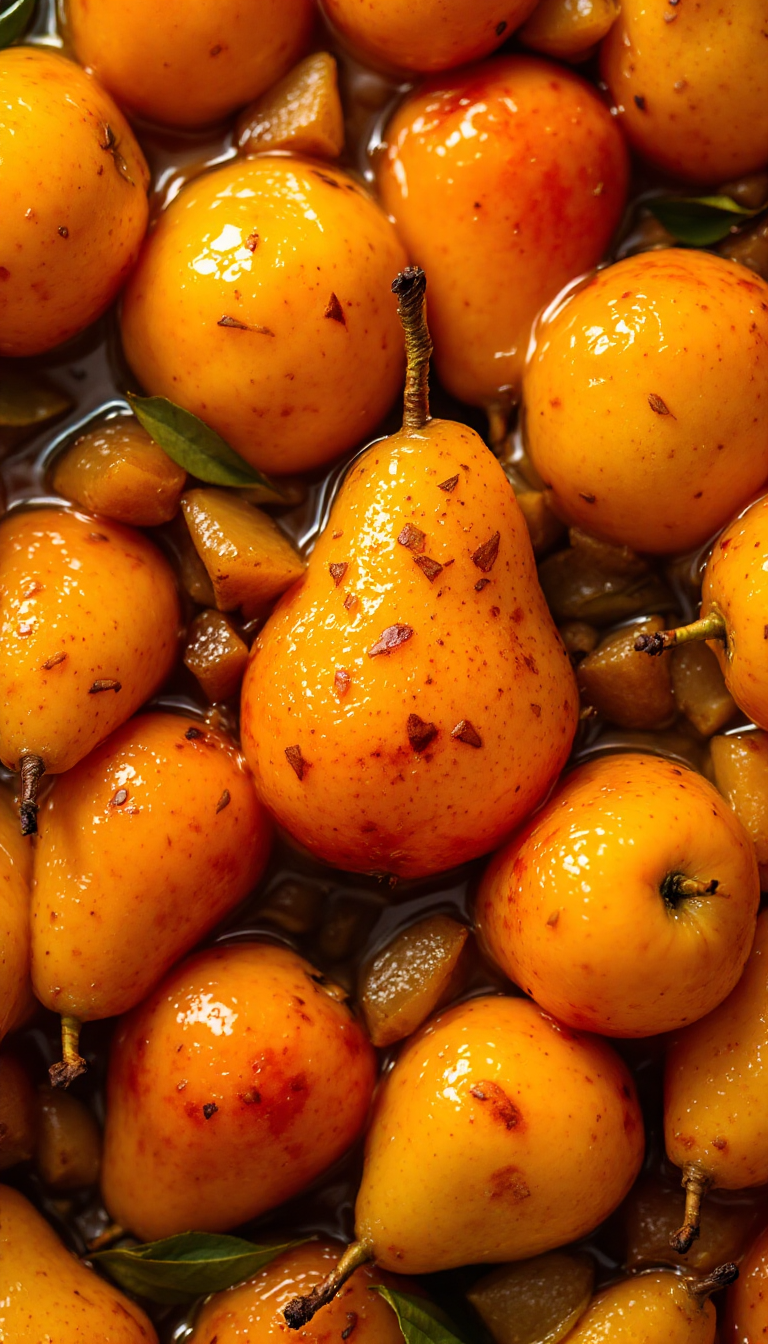
Ah, canned pears—a staple in my pantry that always seems to bring a smile on an otherwise dreary afternoon. There’s something about their syrupy sweetness that feels like a warm hug, albeit slightly sticky. Whether I’m whipping up a quick dessert for unexpected guests or simply craving a nostalgic treat from my childhood, these pears are my go-to. In 2023, with everyone obsessing over the latest TikTok food trends, it’s a bit comforting to know that the humble canned pear remains a constant in my dessert repertoire.
Steps
- Begin by preparing your water bath canner by filling it with enough water to cover the jars by at least an inch. Place it on the stove and bring the water to a boil, then reduce to a simmer to keep it hot until needed.
- Wash and sanitize your jars, ensuring they remain warm to prevent cracking when placed in the canner. Clean your lids with hot soapy water and set them aside.
- Prepare a large bowl with water and mix in bottled lemon juice. Trim the tops and bottoms off the pears, then peel the skin with a vegetable peeler. Halve each pear and remove the core using a paring knife, placing the pears in the lemon water.
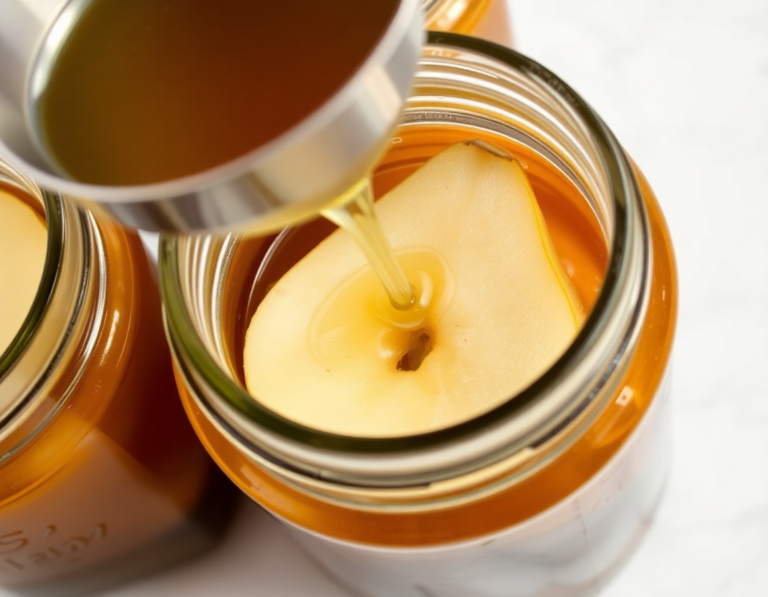
- To make the syrup, combine sugar and water in a large pot and heat over medium. If hot packing, add the pears to the boiling syrup in layers and heat for five minutes.
- Pack the pears cavity-side down into the jars. Pour hot syrup over the pears using a funnel, leaving half an inch of headspace. Remove air bubbles with a chopstick or similar tool.
- Wipe the rim of each jar with a clean, damp cloth to ensure a proper seal. Place a lid and ring on each jar, tightening the rings to fingertip-tightness.
- Using canning tongs, carefully place the jars into the canner. Ensure the water covers the jars completely. Cover the canner with a lid and boil for the recommended time based on jar size and altitude.
- Once processing is complete, remove the canner from heat, take the lid off, and let the jars sit in the water for five minutes. Carefully lift the jars out and place them on a towel to cool, undisturbed, for 12-24 hours.
- Check the seal by pressing the center of each lid; if it doesn’t flex, the jar is sealed. Label the jars and store them in a cool, dark place for up to 12-18 months. If any jars didn’t seal, refrigerate them and consume within three weeks.
Ingredients
- 17 pounds of pears
- 1/3 cup bottled lemon juice
- 6 cups of water (plus additional water for the canner)
- 1 cup of sugar
- 1 cinnamon stick per jar
- 1/2 teaspoon whole allspice per jar
- 1/4 teaspoon whole cloves per jar
FAQ
- What is the best type of pear for canning?
- Bartlett pears are typically considered the best option for canning, though any ripe pear will work. For Asian pears, a special acidification process is required before canning.
- Can pears be canned without using sugar?
- Yes, pears can be canned without sugar. While sugar enhances flavor, preservation, and color, pears have enough natural sugar for safe canning. However, omitting sugar may affect the appearance and shelf life of the canned pears.
- Is it possible to can pears using honey or fruit juice instead of sugar?
- Yes, pears can be canned using honey or fruit juice. Using regular honey is recommended over raw honey due to the heating process. For juice, 48 ounces per 4 pounds of pears are needed, and using apple or white grape juice concentrate is a suitable alternative to sugar syrup.
- How long should pears be processed in a water bath canner?
- For pint jars, pears should be processed for 20 minutes, and for quart jars, 25 minutes. Processing times may vary based on altitude.
- What should I do if my jars leak juice after canning?
- Juice leakage, known as siphoning, can occur if jars aren’t allowed to rest in the canner after processing. Ensure the lids are sealed, and less than half the liquid is lost. If the fruit looks fresh, the contents are safe to eat.
Tips
- Choose the Right Pears: Bartlett pears are widely regarded as the best choice for canning due to their texture and sweetness. However, any ripe pear variety can be used. For Asian pears, remember to acidify them before canning to ensure safety.
- Mind the Sugar Content: While sugar is not necessary for safety in canning pears, it does help with flavor, preservation, and maintaining color. If you prefer a low-sugar or no-sugar option, be aware that the pears may have a shorter shelf life and the color might change slightly.
- Prevent Fruit Float: To minimize fruit float, which is when the fruit rises to the top leaving syrup at the bottom, consider using the hot pack method. This involves briefly cooking the pears in syrup before placing them in jars, which helps fit more fruit per jar and reduces float.
- Ensure Proper Sealing: After processing, let the jars sit undisturbed for 12-24 hours. Check the seal by pressing the lid’s center; if it doesn’t move, the seal is good. If the lid pops, refrigerate and consume the contents within three weeks.
Equipment
- Water bath canner or a large stockpot with a canning rack
- Canning tongs/jar lifter
- Wide mouth funnel
- Canning jars (quarts or pints) with lids and rings
- Vegetable peeler
- Paring knife
- Canning pressure cooker (if opting for pressure canning)
- Dial-gauge or weighted-gauge for pressure canner (if applicable)
- Plastic chopstick or bubble remover tool